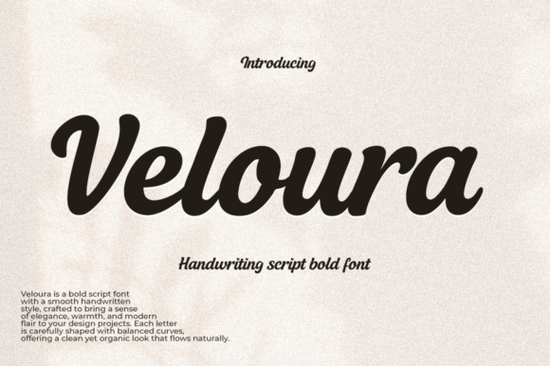
If you need a bold script that stays readable at small sizes, Veloura Font offers a smooth handwritten style without the messy edges that often come with casual typefaces. The letterforms connect naturally, the stroke weight remains consistent, and the curves work well on wedding stationery, product labels, and social media graphics. Designers, crafters, and small shop owners usually pick this style when they want warmth and modern elegance in a single file.
What makes this script font work for invitations and branding?
Script typefaces often struggle with legibility when letters are too tightly spaced. This design avoids that problem by keeping connections clean and character shapes open. When you set it on menu cards or packaging, the steady stroke weight keeps the text looking polished even on textured paper. For branding projects, that same clarity helps logos and quote posters stand out without competing with your other visual elements.
Pairing it with a minimalist option like the style you will find when browsing clean wedding lettering balances the bold curves. You can also review the full character gallery to check alternate glyphs before starting your layout. The contrast between a heavy script and a light sans-serif usually creates a professional hierarchy.
Where does it perform best in print and digital projects?
Because the design relies on connected letterforms and a steady baseline, it shines in display settings. Think candle jars, tote bags, storefront decals, and Pinterest pins. The smooth handwritten style translates well to cut files and print-on-demand products. When you want a different mood for seasonal campaigns, explore alternatives like playful party scripts or test how Veloura Font handles different background colors. Give the letters breathing room, since tight tracking will quickly muddy the clean curves.
How do I set it up and avoid common formatting mistakes?
Installing a script font is straightforward, but getting the best results requires a few small adjustments. Turn on contextual alternates in your design software so the connections flow naturally. Avoid stretching the font horizontally or vertically, since script typefaces are drawn with specific proportions. For crafters working with cutting machines, convert your text to outlines before sending it to the cutter. This step locks in the connections and prevents missing cuts between letters.
When you need to compare how different weights behave on merchandise, take a look at bold display scripts for heavy packaging, or try lighter handwritten styles when you need a softer touch for thank-you cards. Switching between these options helps you match the exact tone your project requires.
Which file formats and licenses should I check?
Most font packages include OTF and TTF files for desktop use. If you plan to use the typeface on a website, verify whether webfont files are included. For print-on-demand sellers, the commercial license terms matter just as much as the file format. Check whether the license covers physical products, digital templates, and client work. Keep a copy of your license receipt handy so you can quickly provide proof of commercial rights if a marketplace requests it.
Quick setup checklist before you start designing
- Install both OTF and TTF files, then restart your design program.
- Enable contextual alternates and ligatures for smoother connections.
- Set line height to at least 1.4 times the font size to prevent overlapping.
- Test print a single line on your final material before running a full batch.
- Save a version with text converted to outlines for cutting machines.
Start with a short headline, adjust the spacing until the curves feel balanced, and save your preferred settings as a style preset. Once the baseline and tracking are dialed in, you can reuse the same setup across invitations, labels, and social graphics without starting from scratch.
Learn More Dark Pink Font for Bold and Creative Designs
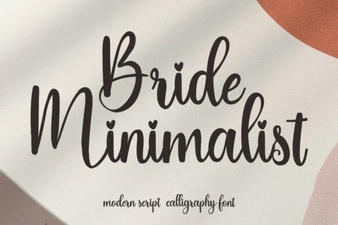 Minimalist Fonts for Wedding Stationery Design
 Spooky Bachelorette Party Invitation Font Ideas
 Fonts Inspired by Baking & Decorating Cupcakes
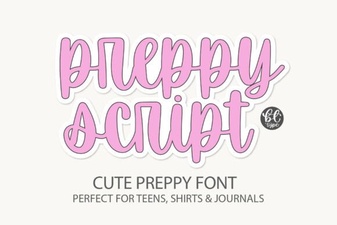 Preppyscript: Friendly Creative Font Styles
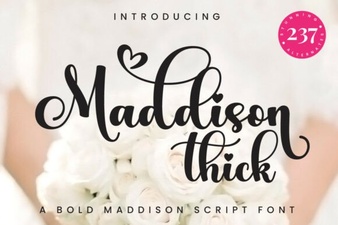 Creative Projects Using the Maddison Thick Font